

Security settings
Your Priscale account holds your pricing, your customers and your numbers, so it is worth a few minutes to lock it down properly. Security settings is where you change your password, turn on two-factor authentication, keep your recovery codes, and add passkeys so you can sign in with your fingerprint, face or device PIN.
Open it from Settings, then Security in the list on the left.
Confirm your password first
Because everything on this page changes how you get into your account, Priscale asks you to confirm your password before the page opens. Enter your password on the Confirm password screen and select Confirm. If you already have a passkey on the device you are using, you can select Confirm with passkey instead and skip the typing.
Once you have confirmed, you will not be asked again for a few hours, so moving between the security page and the rest of the app stays quick.
TIP
If you signed up with Google or GitHub and never chose a password, set one from your connected accounts page before you come here.
Change your password
The Update password section at the top of the page takes three fields:
- Current password is the password you use today.
- New password is the one you want from now on.
- Confirm password is the new password again, so a typo cannot lock you out.
Select Save. A short confirmation appears when the change goes through, and the three fields are cleared.
Each field has an eye icon at the end so you can check what you typed before saving.
Choosing a new password
The requirements are the same ones you met when you created your account: at least 12 characters, with upper and lower case letters, numbers and symbols. Priscale also checks the password against known data breaches, so one that has leaked somewhere else is rejected even when it is long enough.
If the current password does not match, or the new one does not meet the requirements, the form explains what to fix and clears the fields so you can start again.
TIP
A phrase you can actually remember, with a number and a symbol in it, beats a scrambled password you have to write down. A password manager can generate and store one for you.
Two-factor authentication
Two-factor authentication adds a second step at sign-in, so your password on its own is not enough to get into your account. The second step is a 6-digit code from an authenticator app on your phone, such as Google Authenticator or Authy.
Turn on two-factor authentication
- In the Two-factor authentication section, select Enable 2FA.
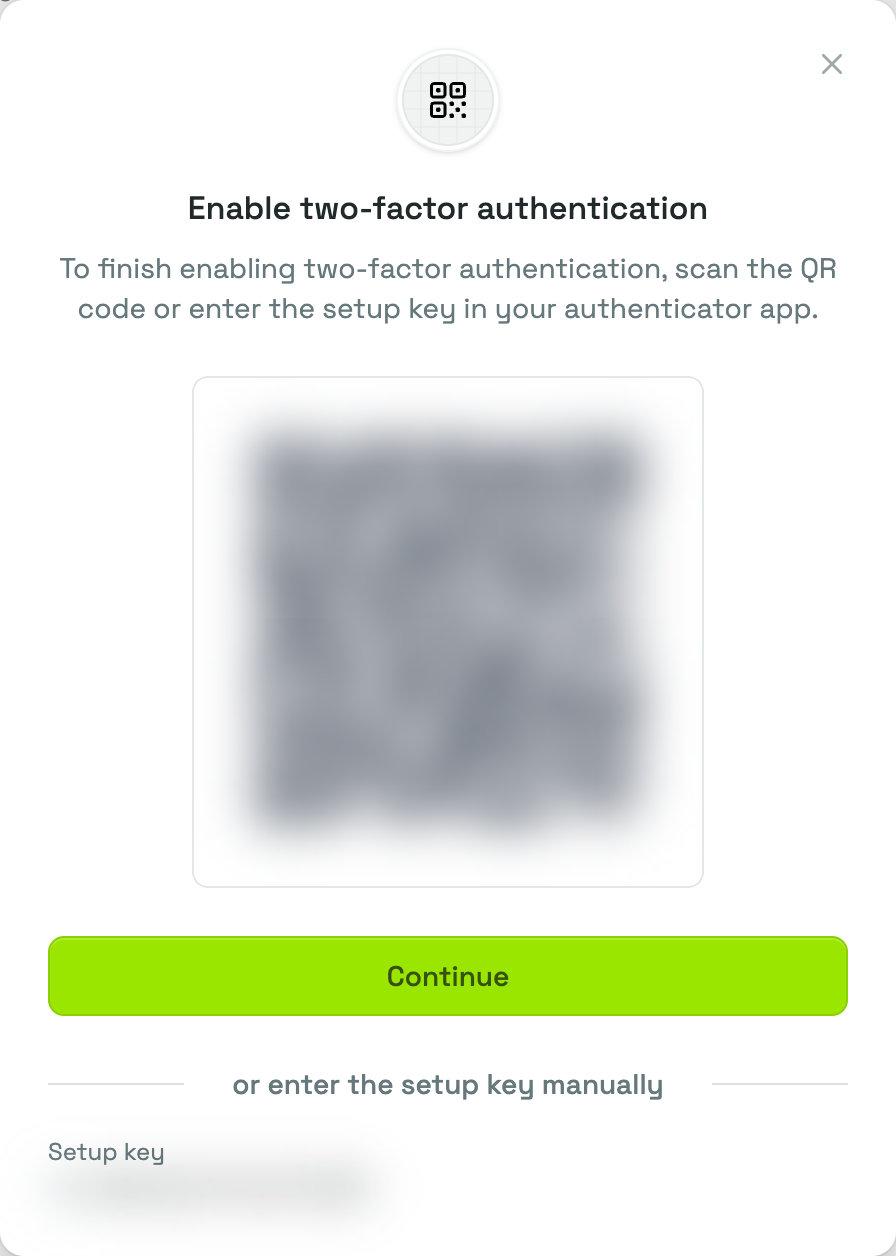
- A window opens with a QR code. Open your authenticator app, add a new account and scan the code. If your phone cannot scan, use the Setup key shown under or enter the setup key manually and type it into the app instead. Selecting the key copies it, so you do not have to retype it.
- Select Continue.
- Your authenticator app is now showing a 6-digit code for Priscale. Type it into the Verify authentication code step and select Confirm. Back returns you to the QR code if you need another look.
The section then shows that two-factor authentication is on, along with your recovery codes.
WARNING
The setup only counts once you have entered a code and selected Confirm. If you close the window at the QR-code step, two-factor authentication stays off. When you come back to the page and start again, the QR code may be a new one, so scan whatever is on screen at that moment rather than relying on the entry already in your app.
Signing in with two-factor authentication
From then on, every sign-in asks for a code after your password.
Enter the 6-digit code from your authenticator app on the Authentication code screen and select Continue. If your phone is not to hand, select log in with a recovery code and use one of your saved codes instead.
Recovery codes
Recovery codes are your way back in when you cannot reach your authenticator app, for example if you lose or replace your phone. Priscale creates a set for you as soon as two-factor authentication is on.
In the 2FA recovery codes panel:
- Select View recovery codes to show the list.
- With the list open, Copy codes copies the whole list to your clipboard in one go.
- With the list open, Create new codes replaces the list with a fresh one. Every code shown before stops working immediately.
- Hide recovery codes puts the list away again.
DANGER
Save your recovery codes somewhere safe and private, ideally in a password manager. Each code works only once and disappears from the list after you use it. If you lose both your authenticator app and your codes, you will not be able to sign in.
Turn off two-factor authentication
Select Disable 2FA to go back to signing in with your password alone. Your recovery codes stop working at the same time. If you turn two-factor authentication on again later, you set it up from scratch with a new QR code and a new set of codes.
Passkeys
A passkey lets you sign in with whatever already unlocks your device, such as a fingerprint, your face or a device PIN. There is no password to type and nothing to remember. Passkeys are managed here in your security settings, and they are what the Log in with a passkey button on the sign-in page uses.
Passkeys need browser and device support. If yours does not support them, the section says so instead of offering the button.
Add a passkey
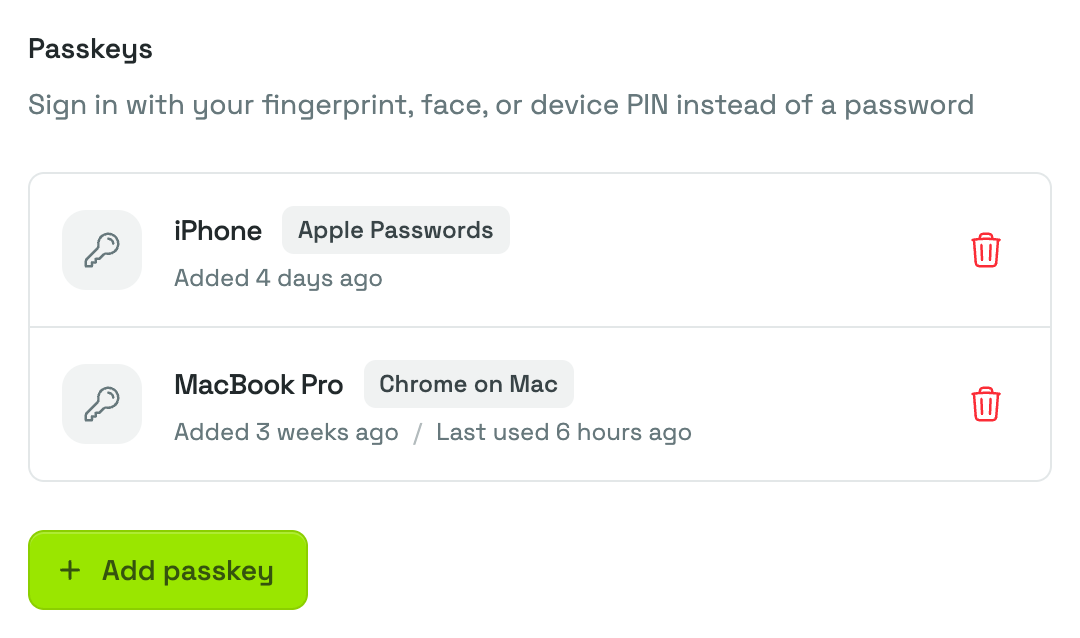
- In the Passkeys section, select Add passkey.
- Give it a name in Passkey name, something that tells you which device it is, such as "MacBook Pro" or "iPhone".
- Select Save passkey, then follow your device's own prompt to confirm with your fingerprint, face or PIN.
The passkey appears in the list with the name you gave it and when it was added; once you sign in with it, the list also shows when it was last used. Add one for each device you sign in from.
TIP
A passkey is tied to the device you created it on. Keep your password or an authenticator app available as well, so you are never locked out if that device is lost or replaced.
Remove a passkey
Select the delete icon next to a passkey and confirm with Remove passkey. That passkey can no longer be used to sign in. Your other passkeys, your password and two-factor authentication are unaffected.
Related pages
- Connected accounts links or unlinks Google and GitHub, and sets a password if you signed up socially.
- Profile settings is where you change your name, email address and timezone.
- Create your account covers signing up, verifying your email and resetting a forgotten password.